This week, for composites, I decided to make a mounting bracket for my linear actuators that I will be using on my standup desk. |
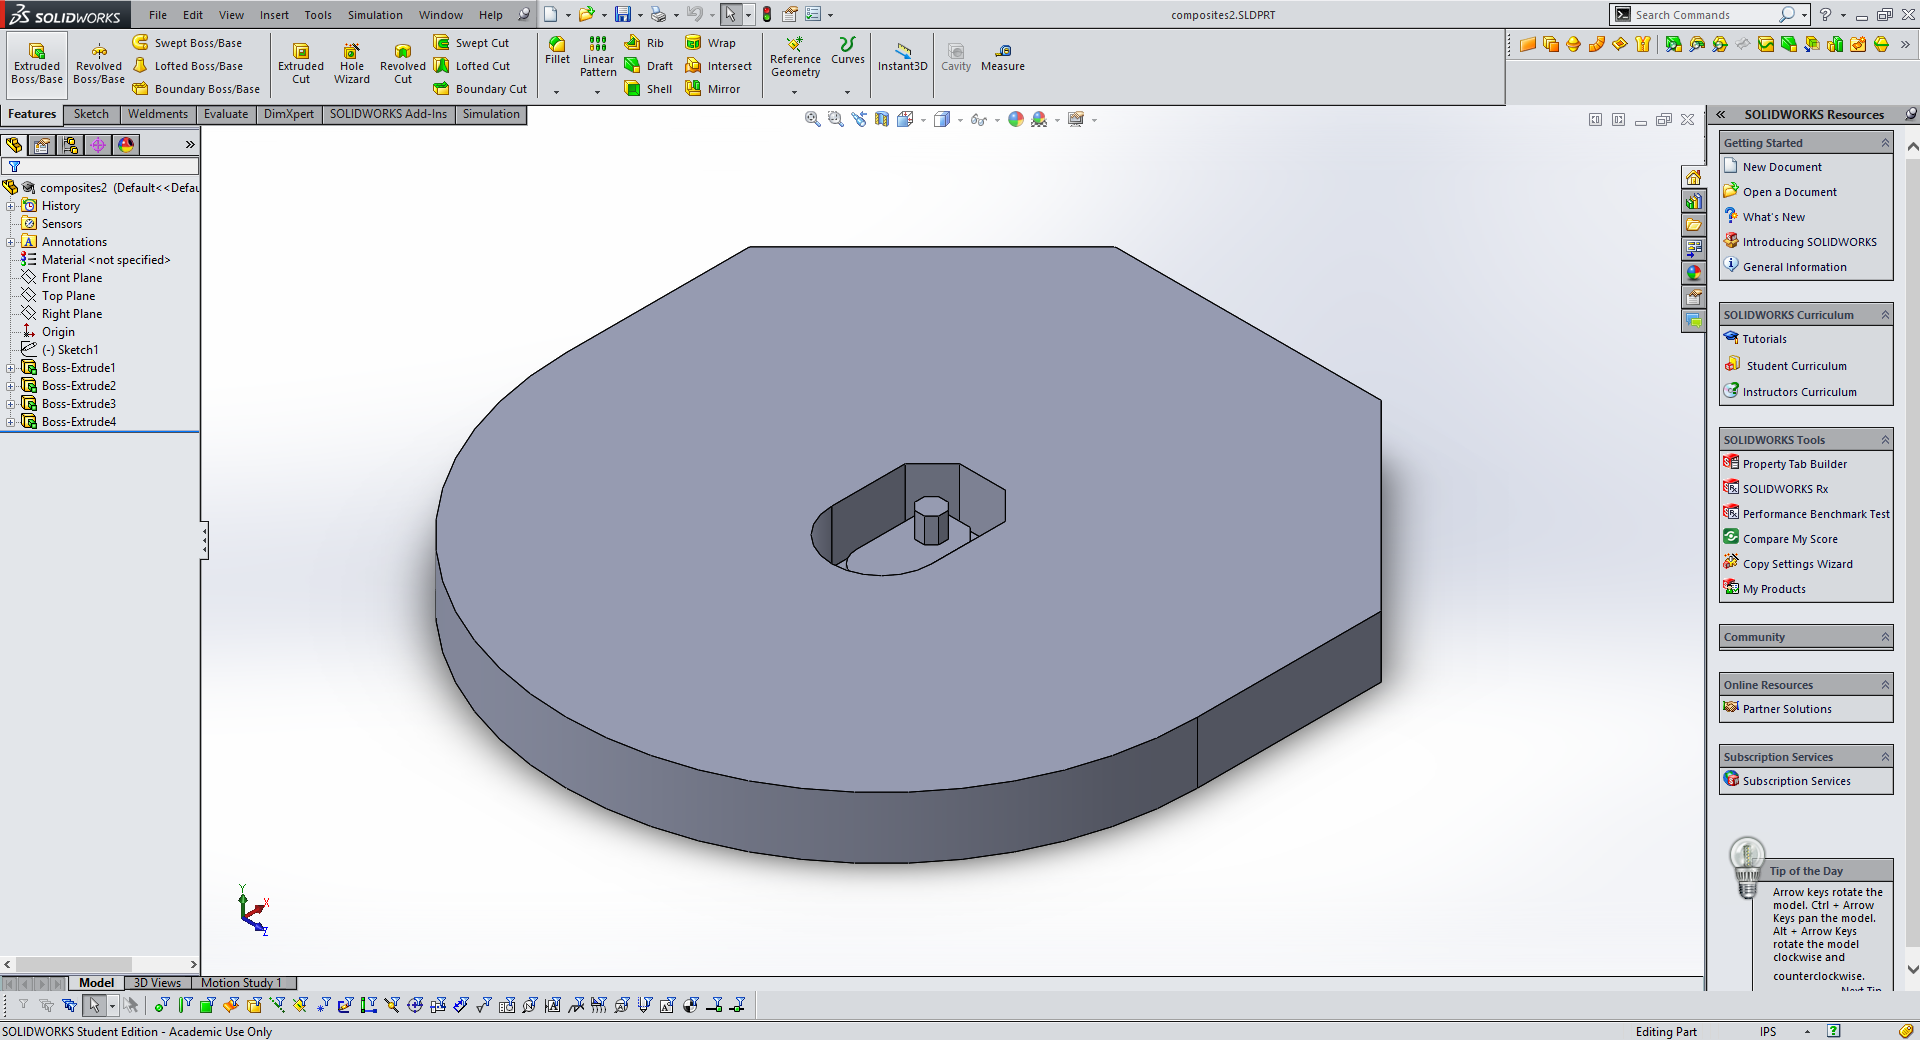
I started the process in Solidworks and created a negative mold of the shape I wanted to make with composites. I make the outside of the mold excesively large so that when I import the file into aspire, Aspire will not try to mill away all of the extra foam board around my part and will only mill out the negative indent. This saves lots of time and material. |
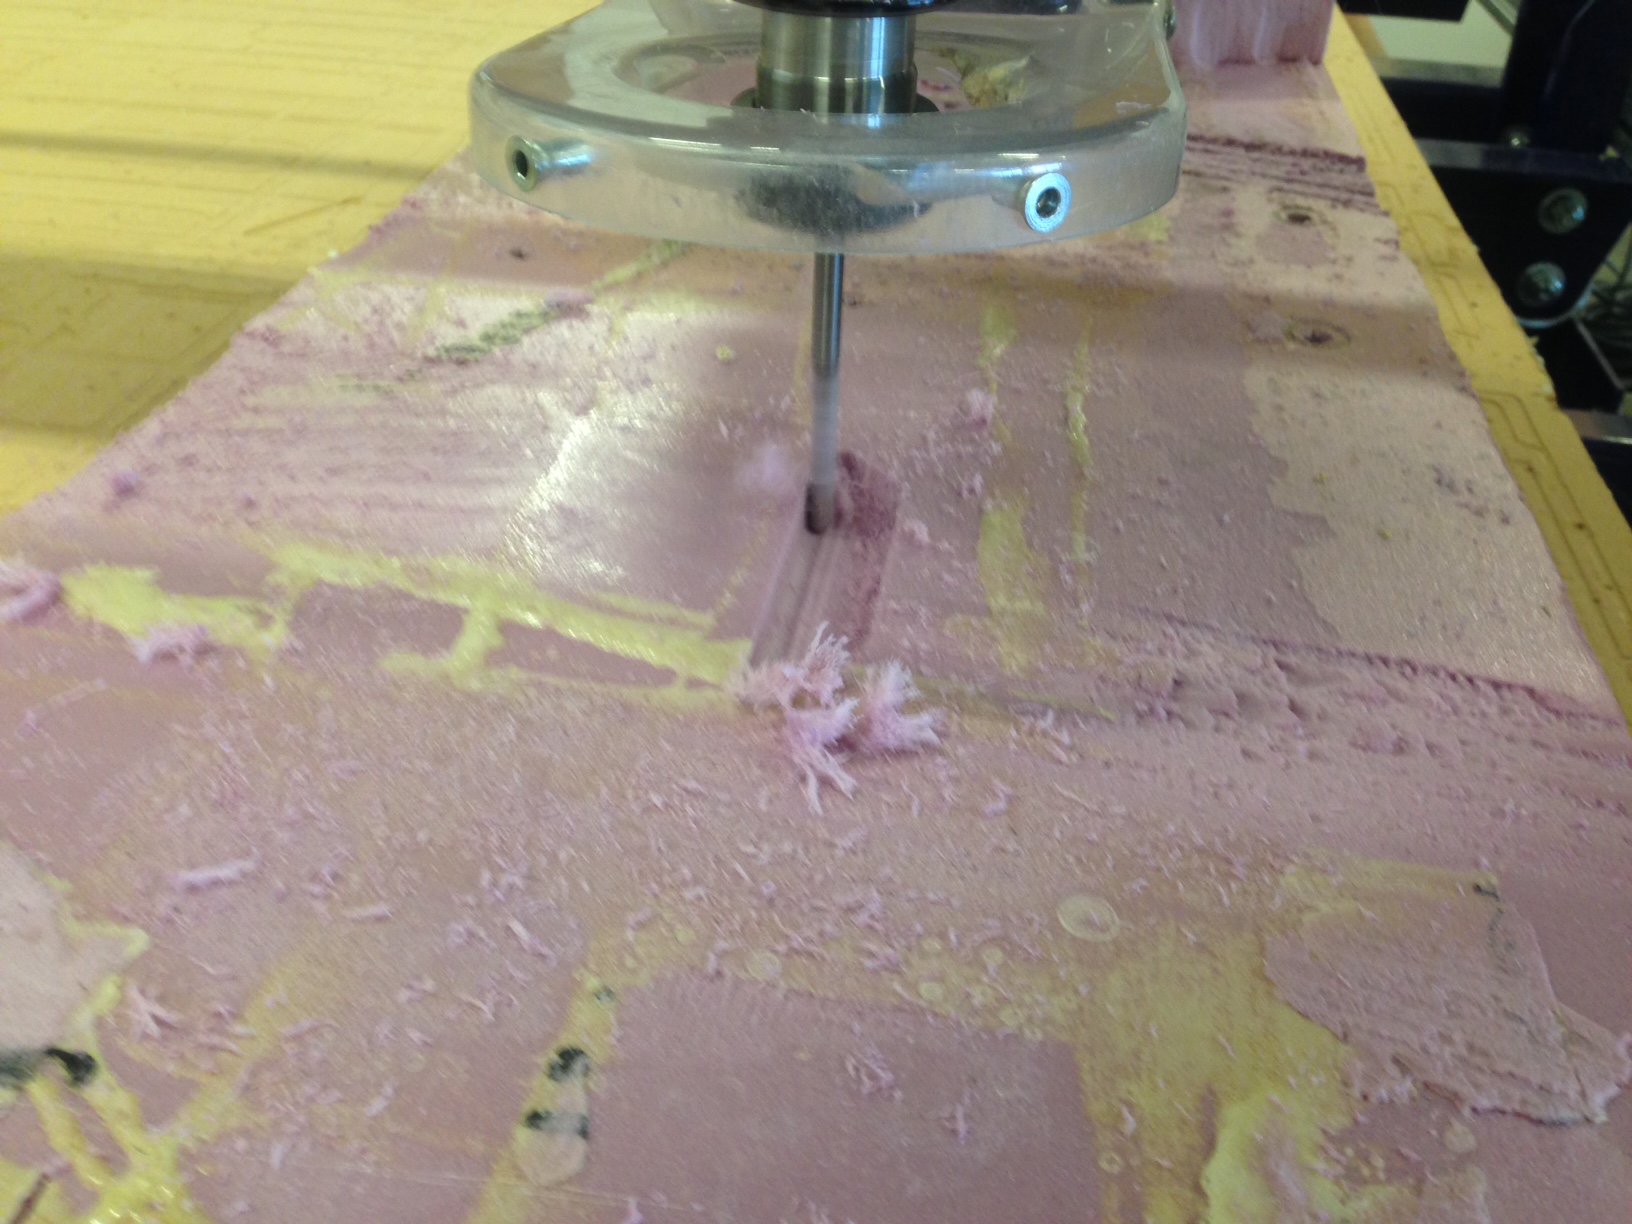
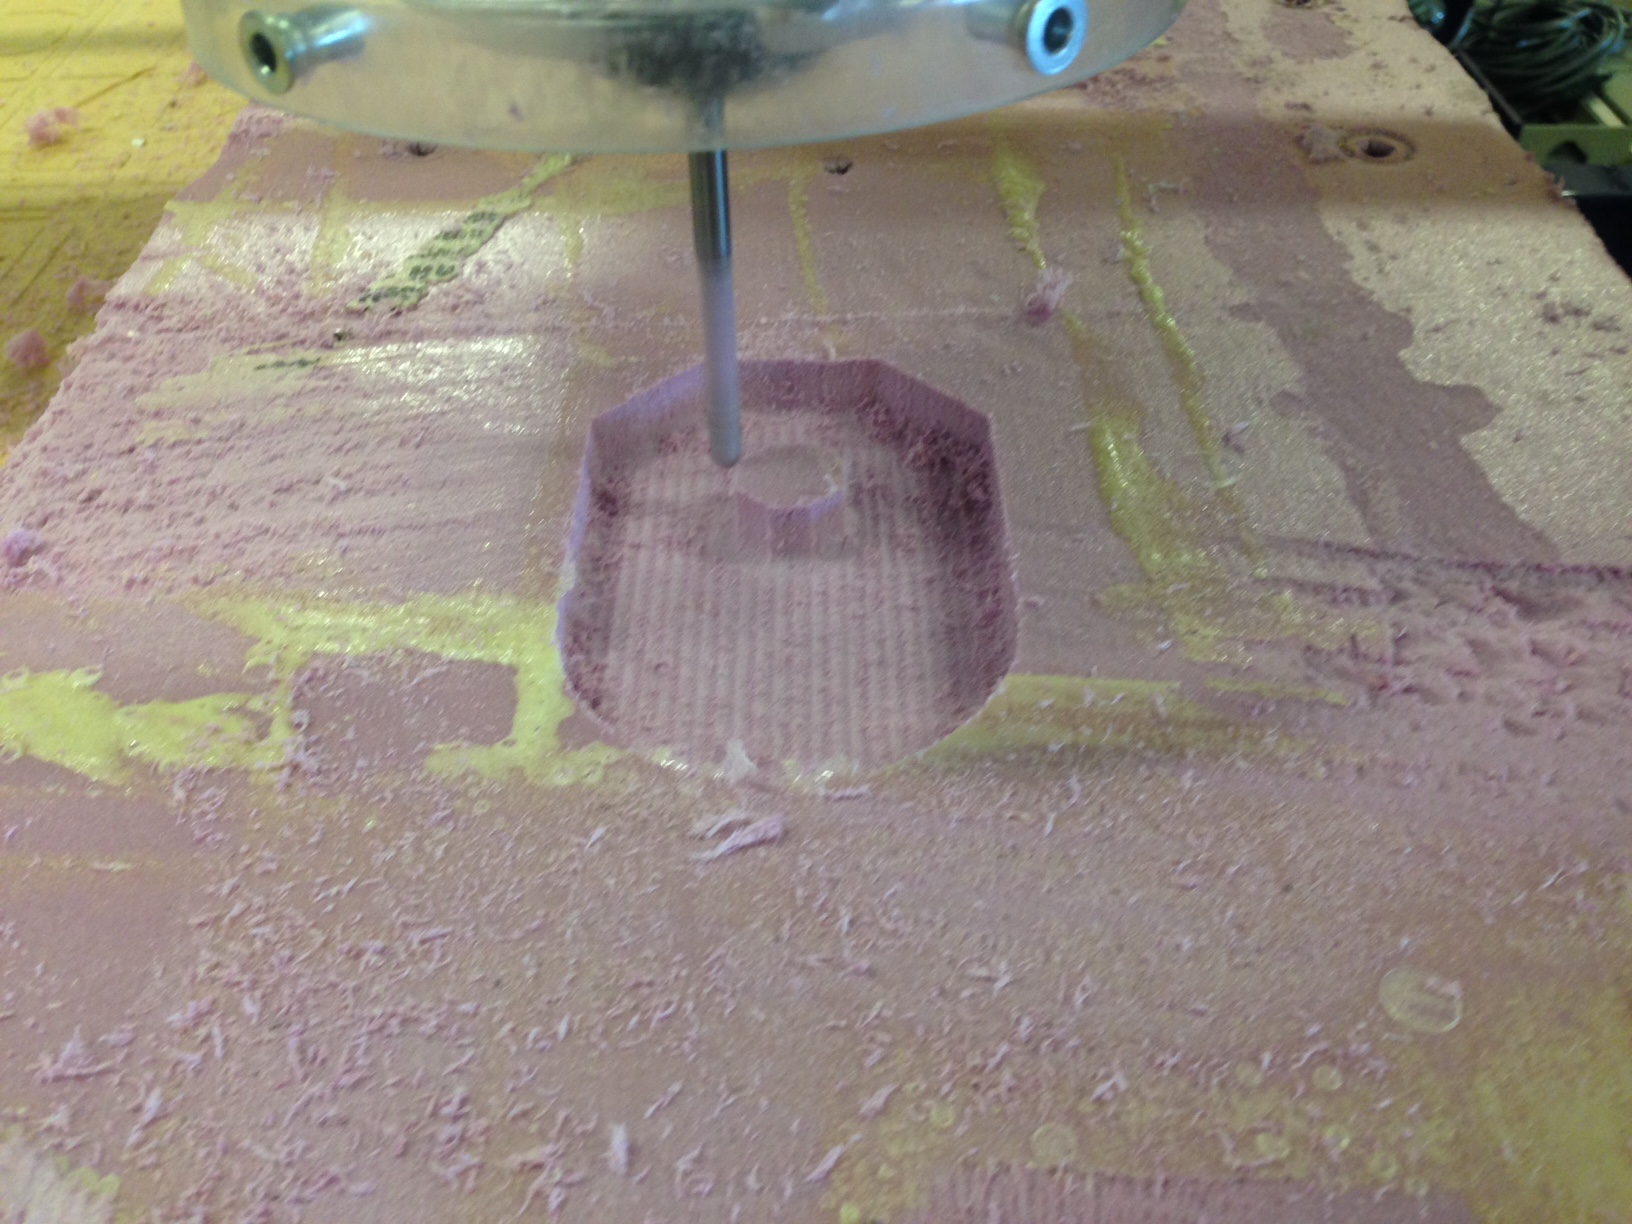
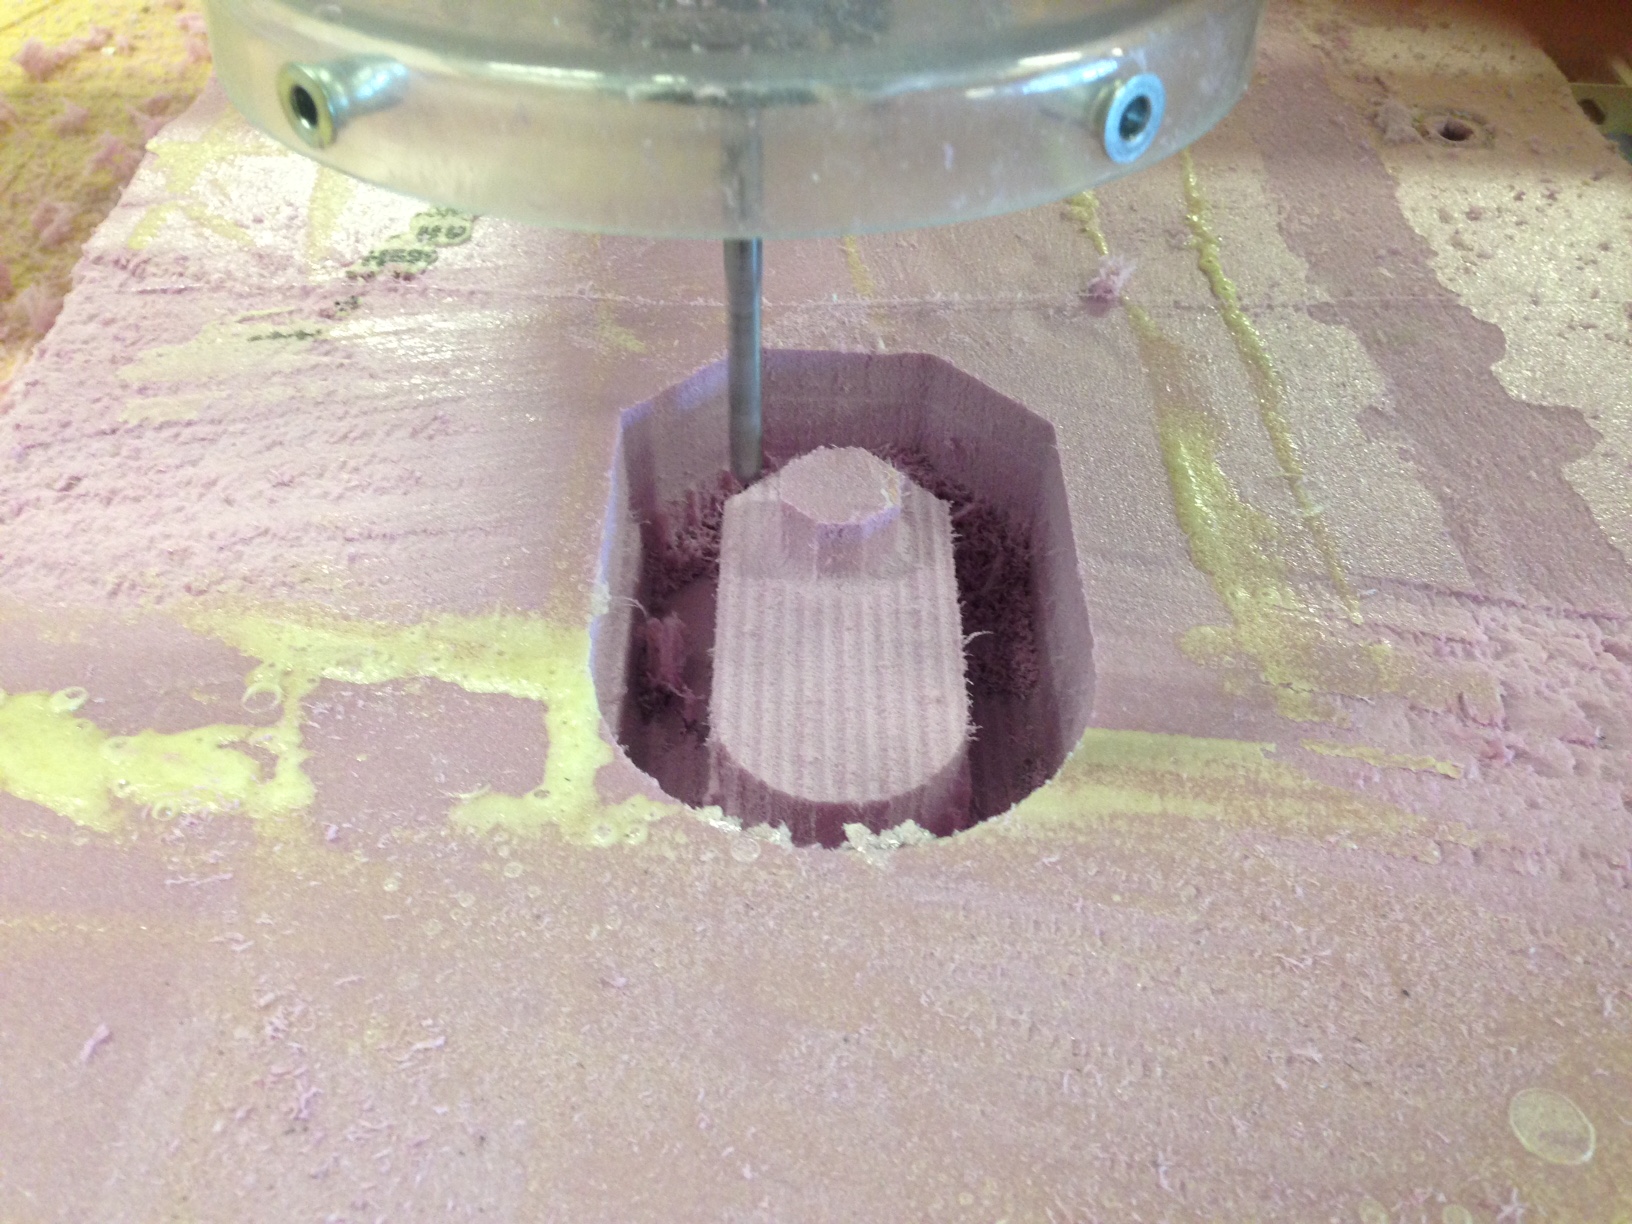
I milled my mold out of stacked foam insulation board secured to the shopbot with hot glue. I used a 1/4" endmill bit on the Shopbot with standard settings, except I change the cut speed to 120 inches per minute because foam is a very soft material. |
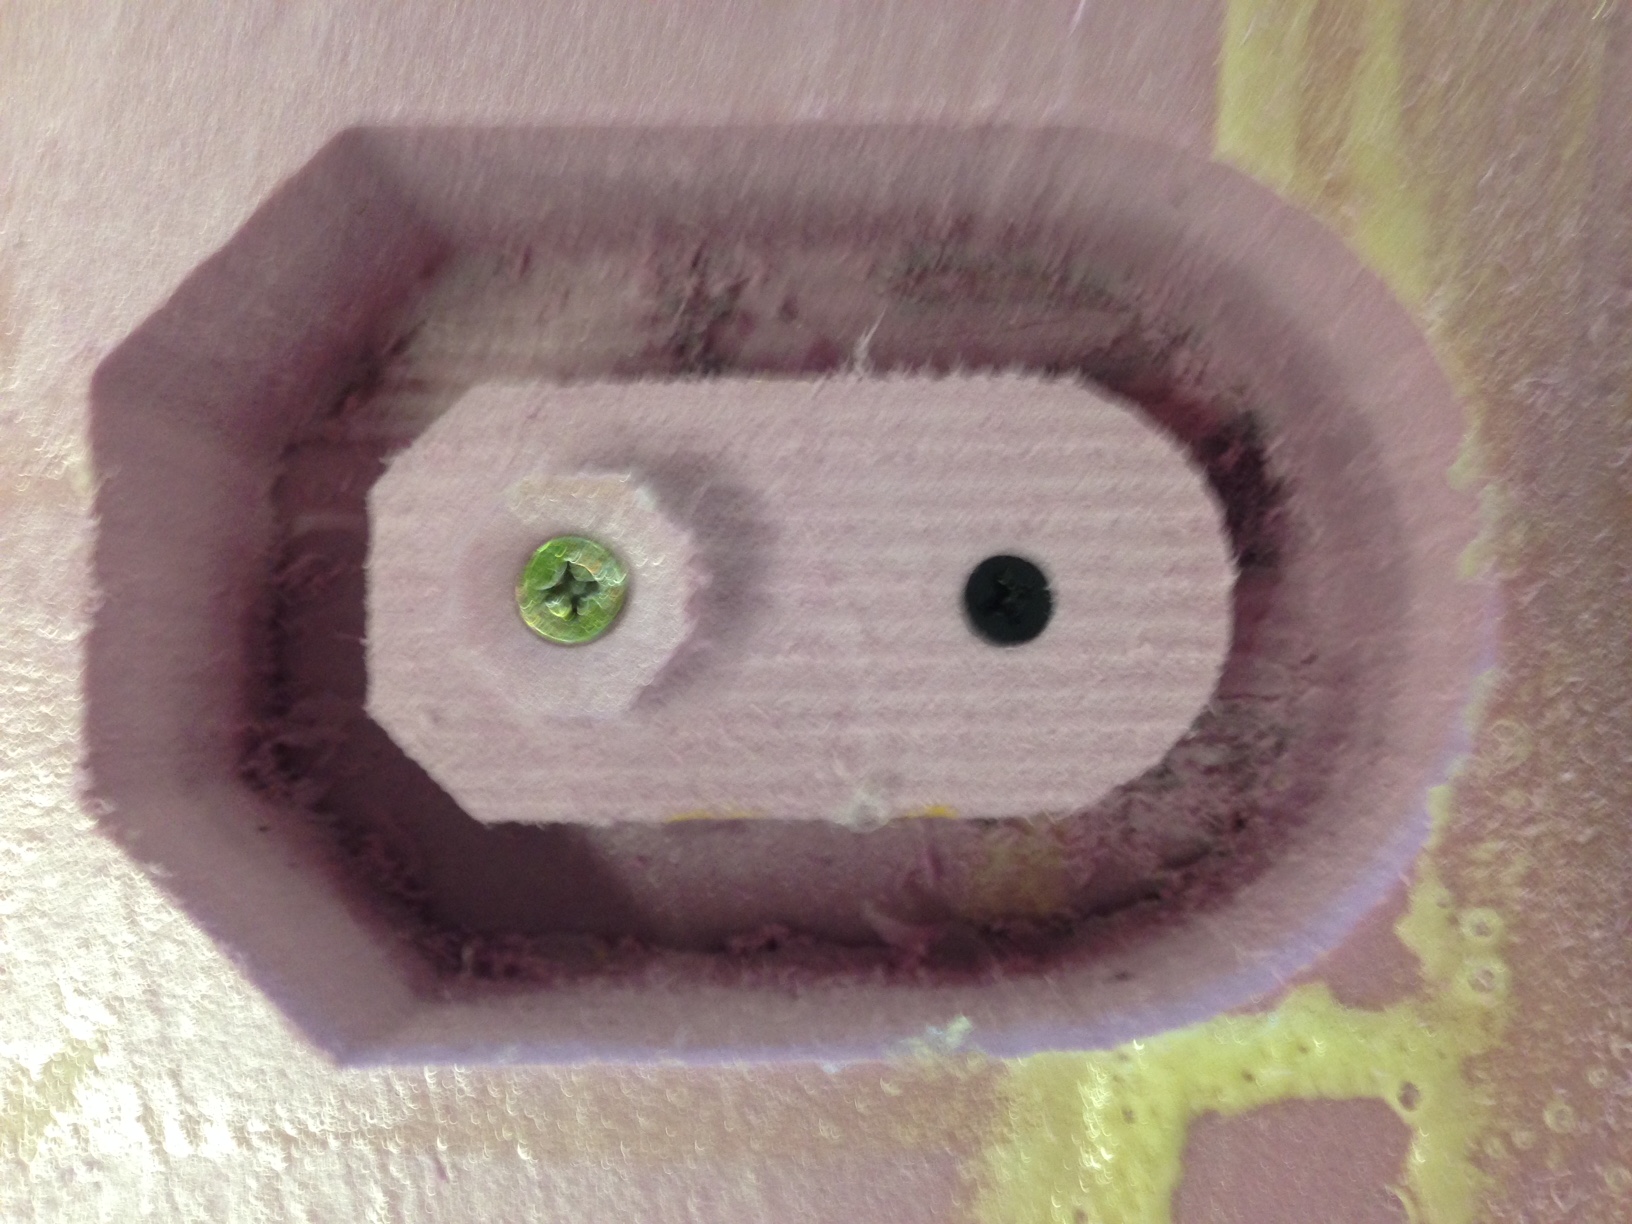
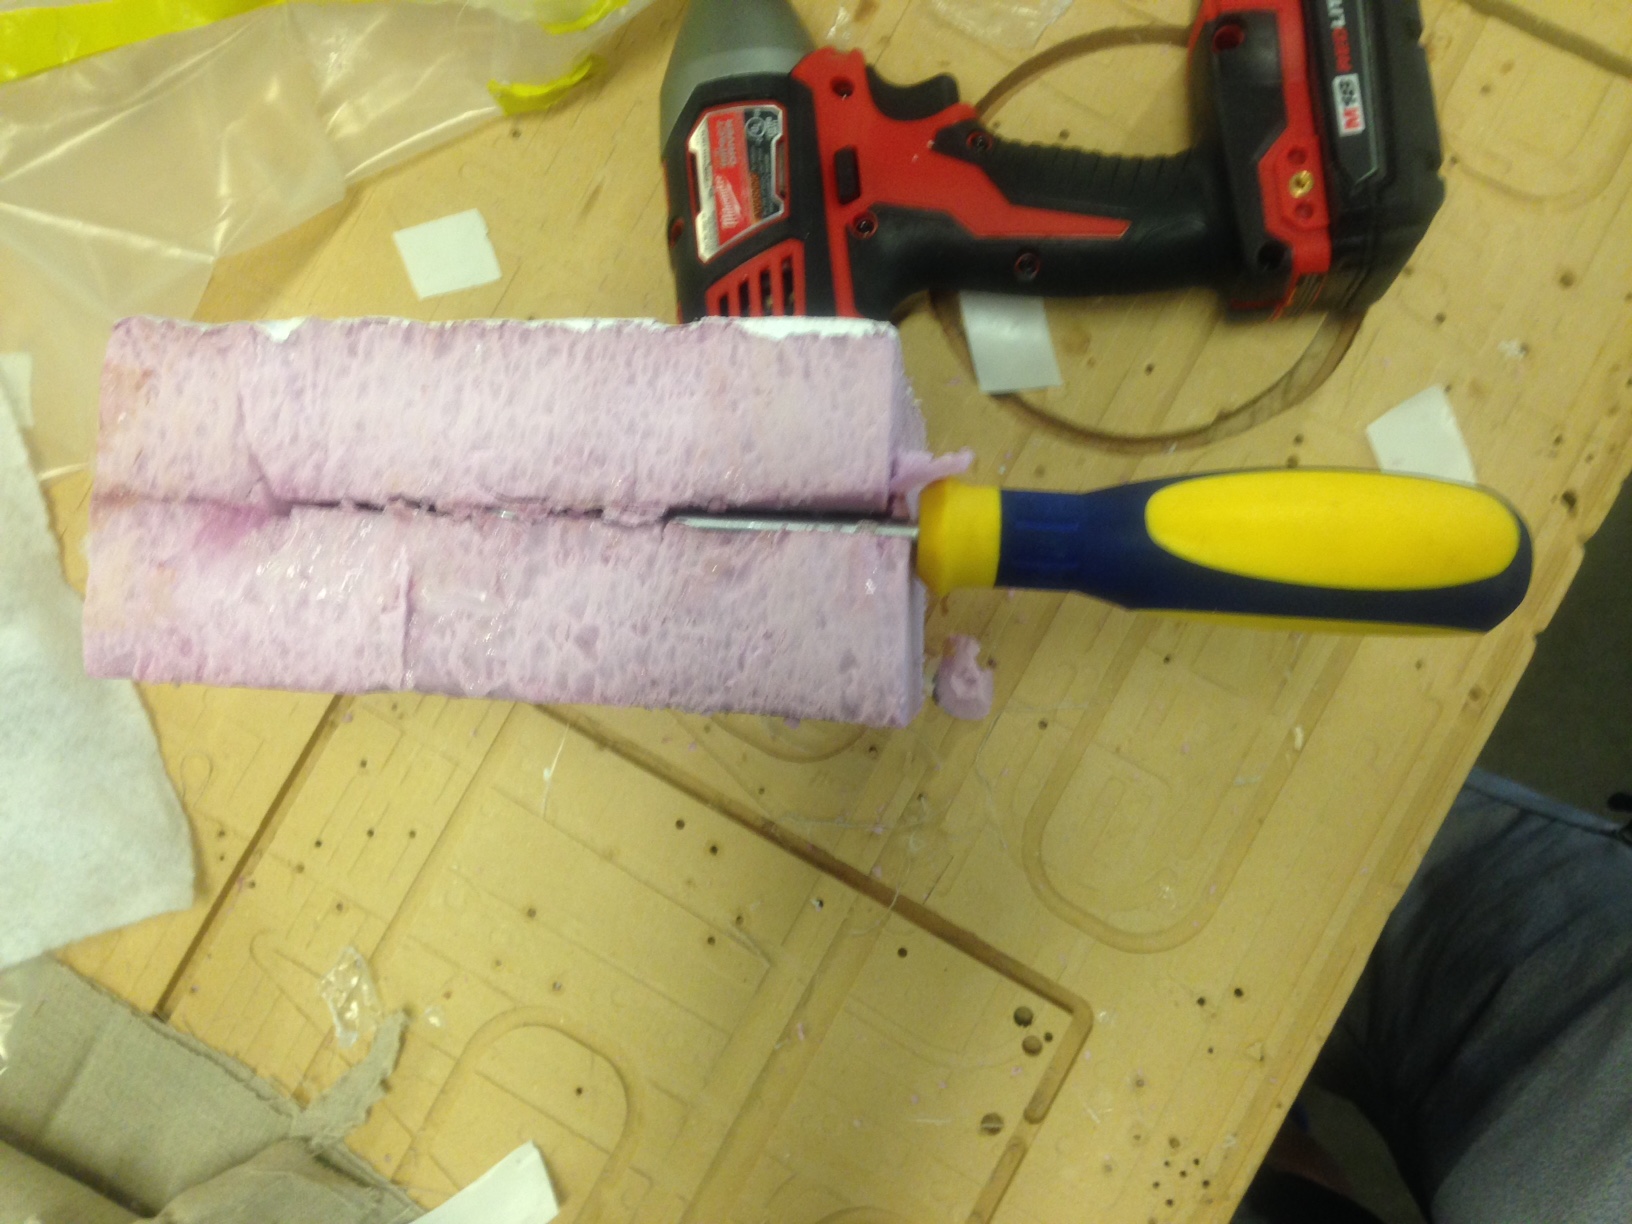
After cutting the mold I realized that my mold was almost exactly the depth of one layer of the 3 layer piece of foam I had milled it from. Therefor the middle raised section was weakly attached, so I used two screw to securly attach it the foam layers below. I would have used glue but glue fillets in a negative mold would appear in the final product. |
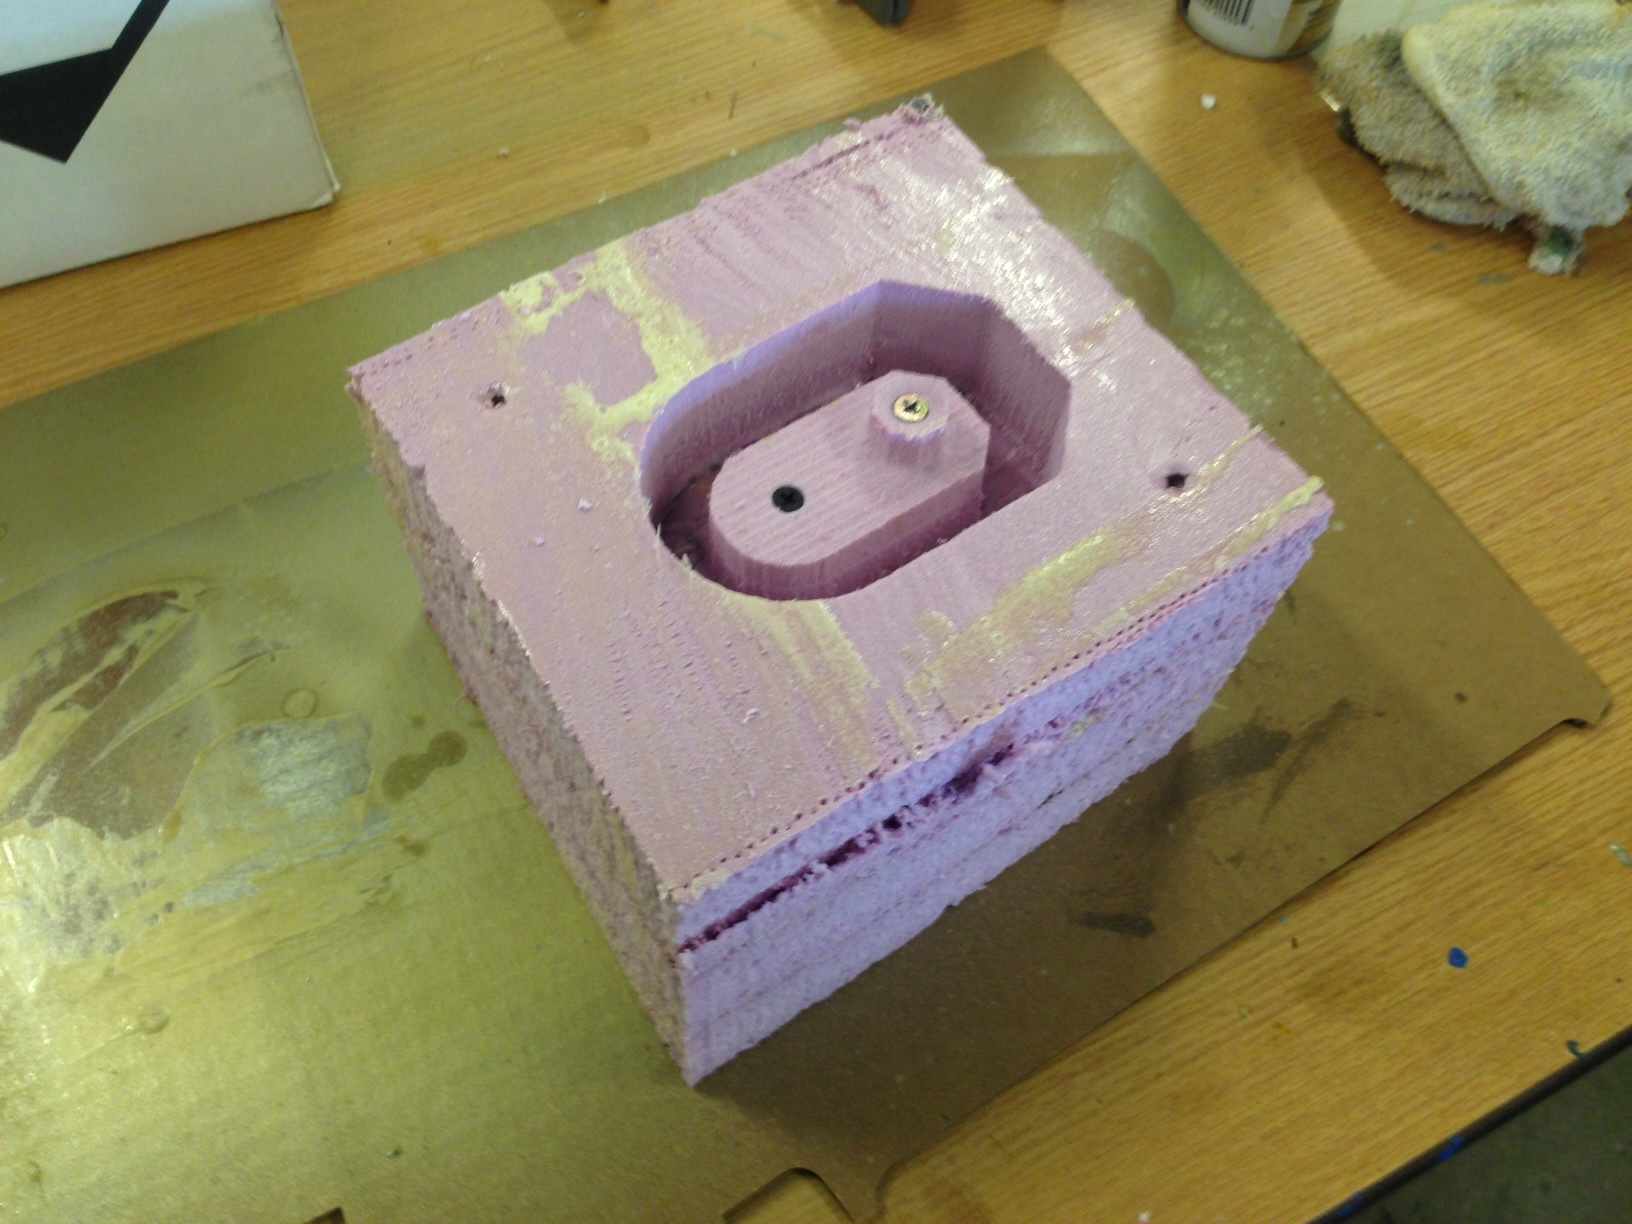
Finally, I used a hand saw to cut away the extra foam around the mold so that there would be enough room in the vacuum bag for more than one mold in the next step. |
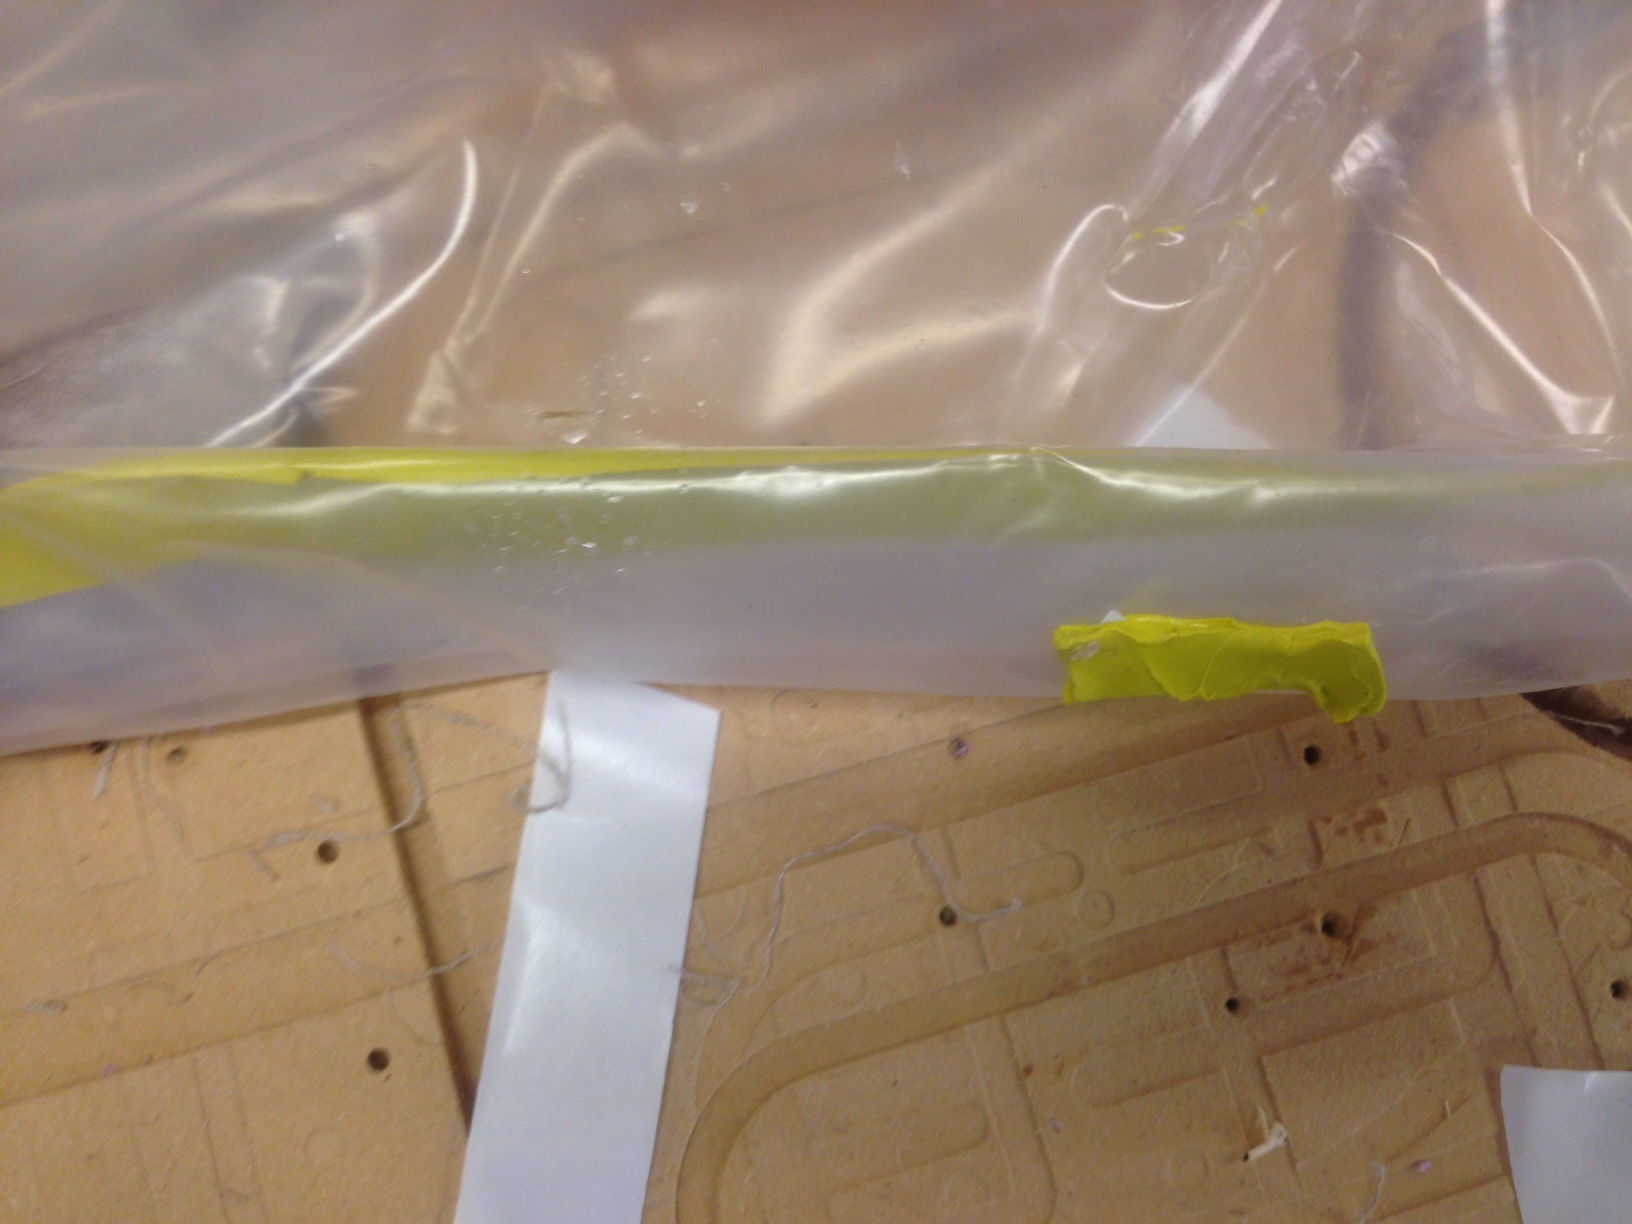
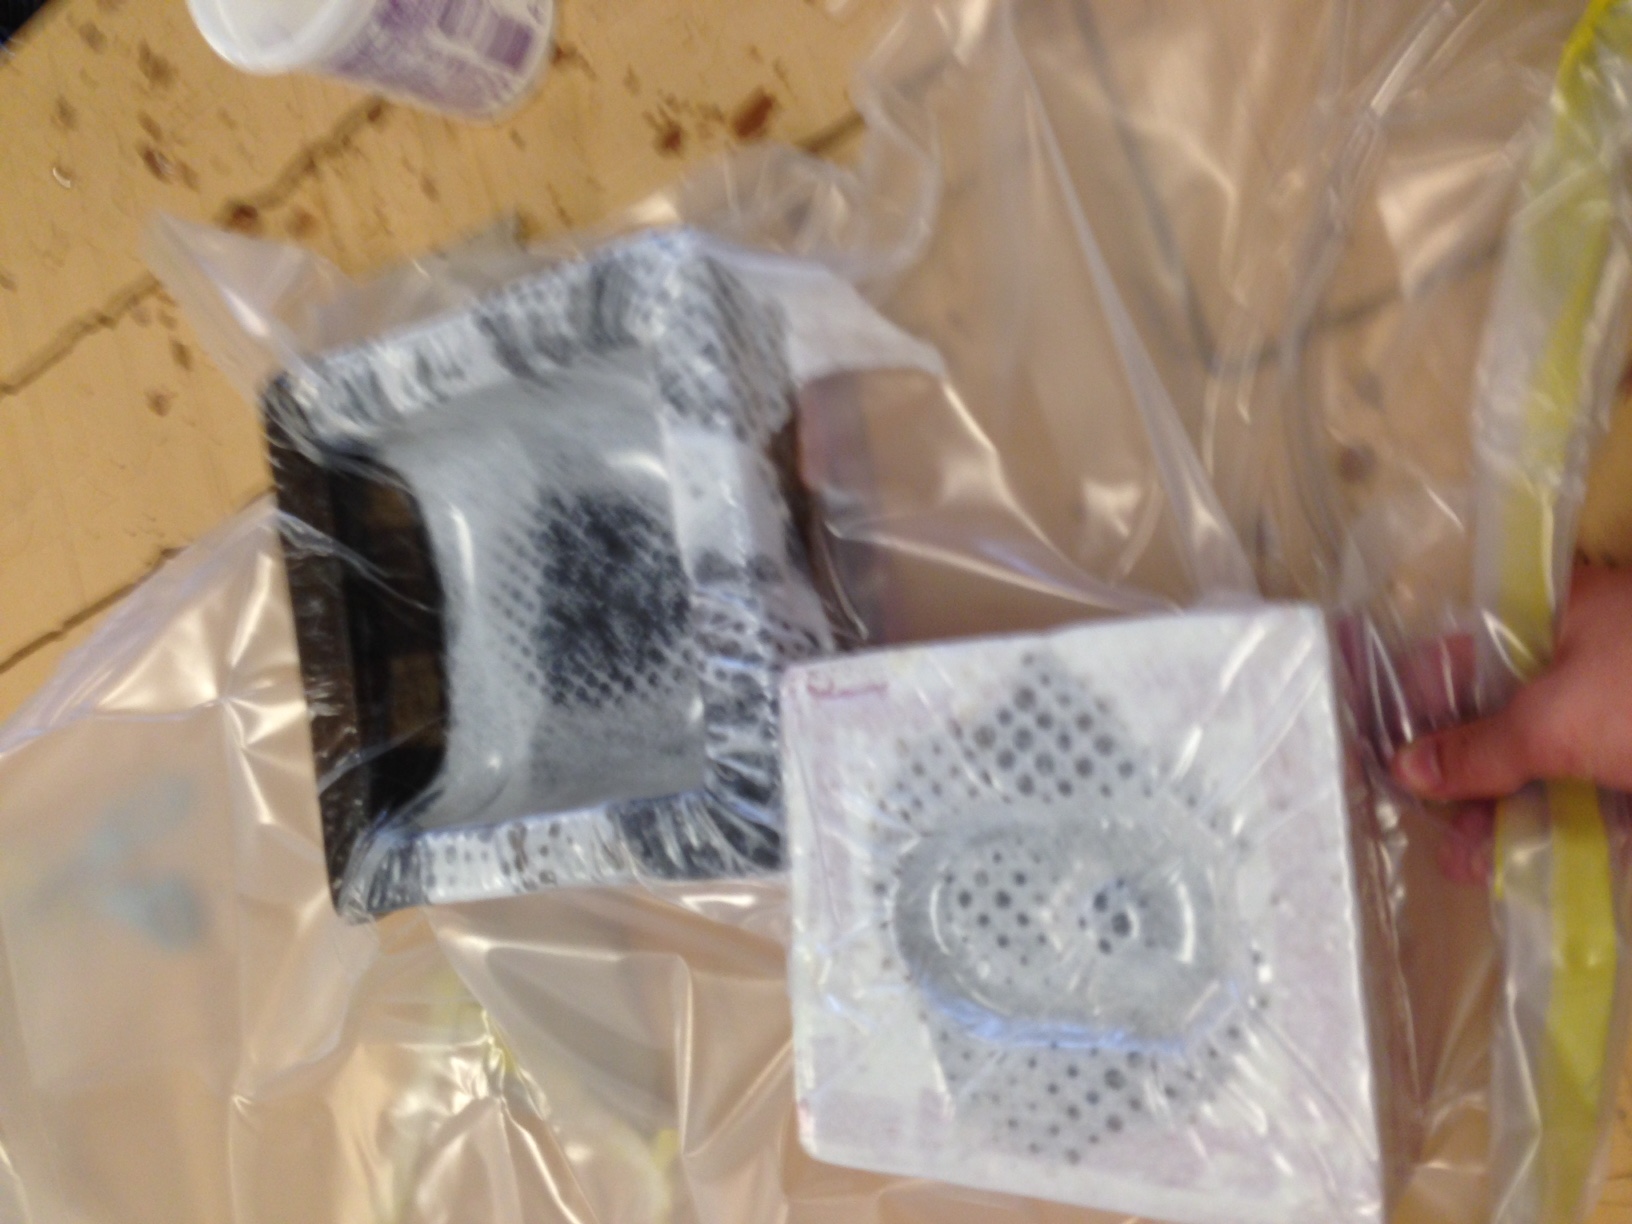
The next steps utilize vacuum bags so I decided to do some tests to determine exactly how good of a seal I could get in a vacuum bag. I found as seen above the best way is to roll the vacuum bag like you would a dry bag after applying single strip of the yellow tape seen above. Then use small tabs of tap to keep the bag roled, created a very nice, mostly air tight, seal. |
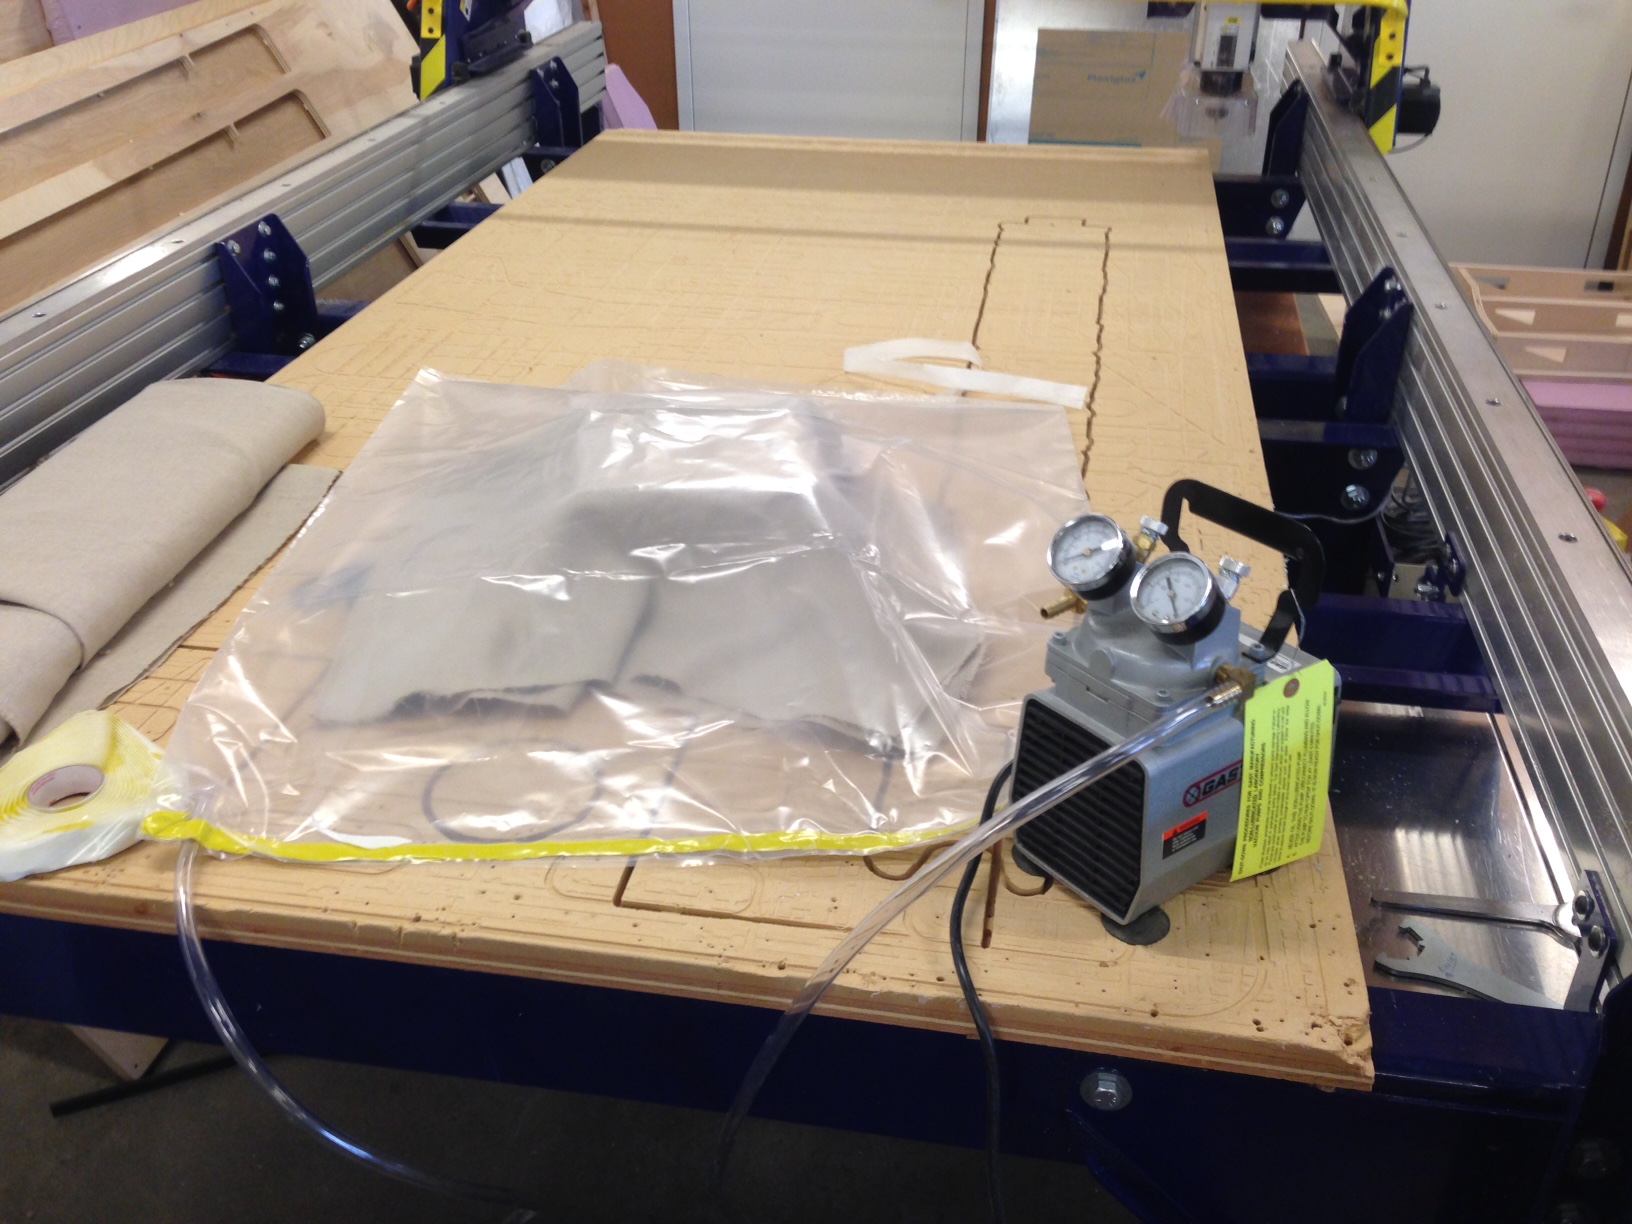
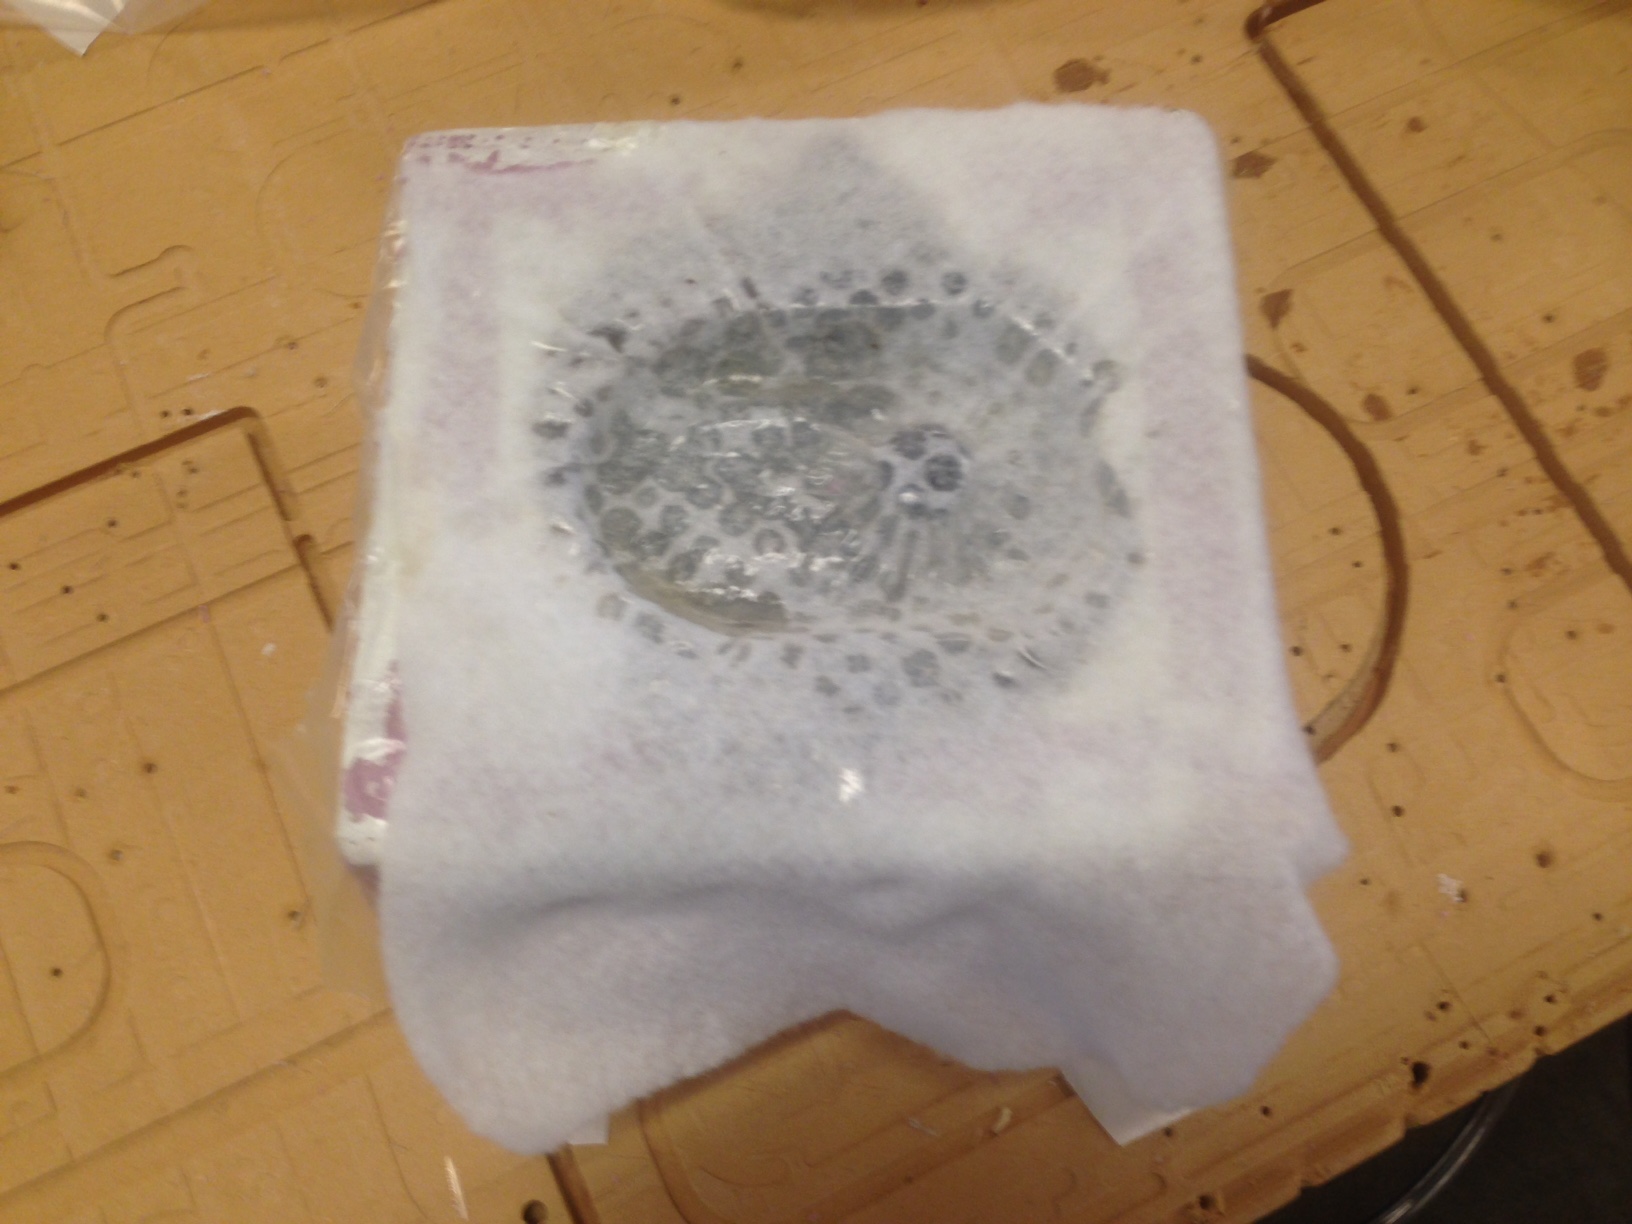
I then tested the vacuum pump in conjunction with the new seal. I also placed my mold with a dry piece of burlap over the mold to test how it would form over my part. Everything seemed to work well except that the burlap did not form over my mold very much. This was because I did not place a breather material over the burlap or any of the other layers, and because my mold is relatively small. |
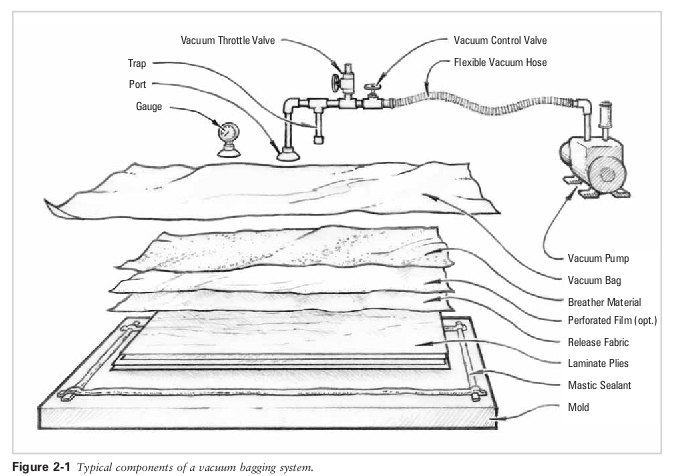
Above is a very good diagram from the SuperNode Fablab in Barcelona depicting the layers used in vacuum composites. |
Unfortunately I do not have pictures from the next step since everyone had expoxy covered gloves on. This step was created the layer for the mold. I cut burlap strips and gathered plastic and cotton sheet for the plastic and vent layers of the mold. I then mixed 3:1 (3 resin to 1 hardener) epoxy. I sprayed the mold with mold release and then placed burlap strips inside the exterior of the mold and applied expoxy. Since my mold was so small I only got about two layers before the mold was almost full, so I stopped there, but I rolled a few addition burlap strips covered in expoxy to form rope like strings and placed then at the bottom of my mold to both strengthen those points and for the burlap layers down there outwards against the mold because they might not get the full potential of the vacuum process. All in all I felt as though I had to keep a steady pace during this process, but due to my experience working with epoxy in the past I did not feel rushed and overall this process went smoothly. Before I explain the next steps I would also like to say that due to the physical size of this mold I was not able to used plastic under the burlap and therefore did not expect the mold to survive. |
Once the epoxy had dried (when I got back to the lab the next day) I took the mold out of the vacuum back and peeled away the top plastic layers and the vent layer. Then I used a screw driver to break away the layers of foam that the mold was milled out of the expose my part. In the future I could try to find a thinner plastic to coat the inside of the mold with so I could use it again. I could also look for a gel mold release rather than a spray on which might increase the chances of the part coming out of the mold without destroying the mold. |
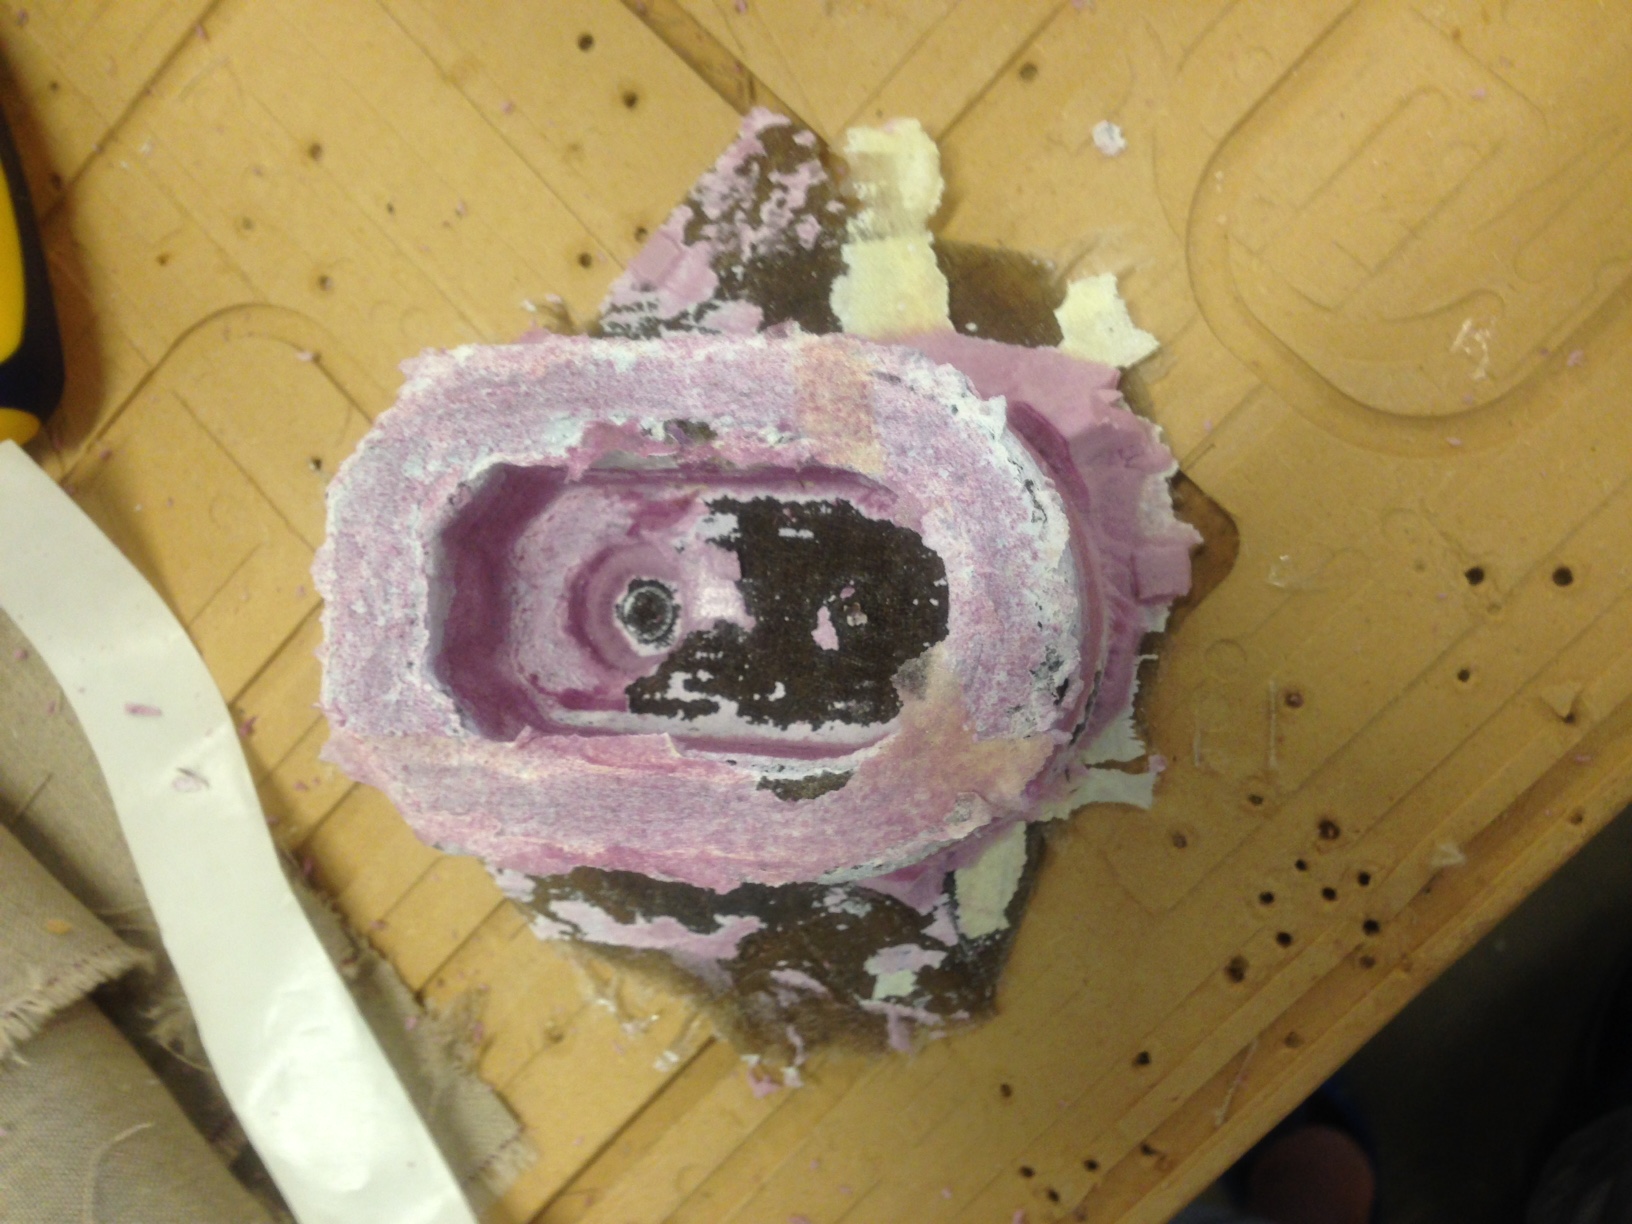
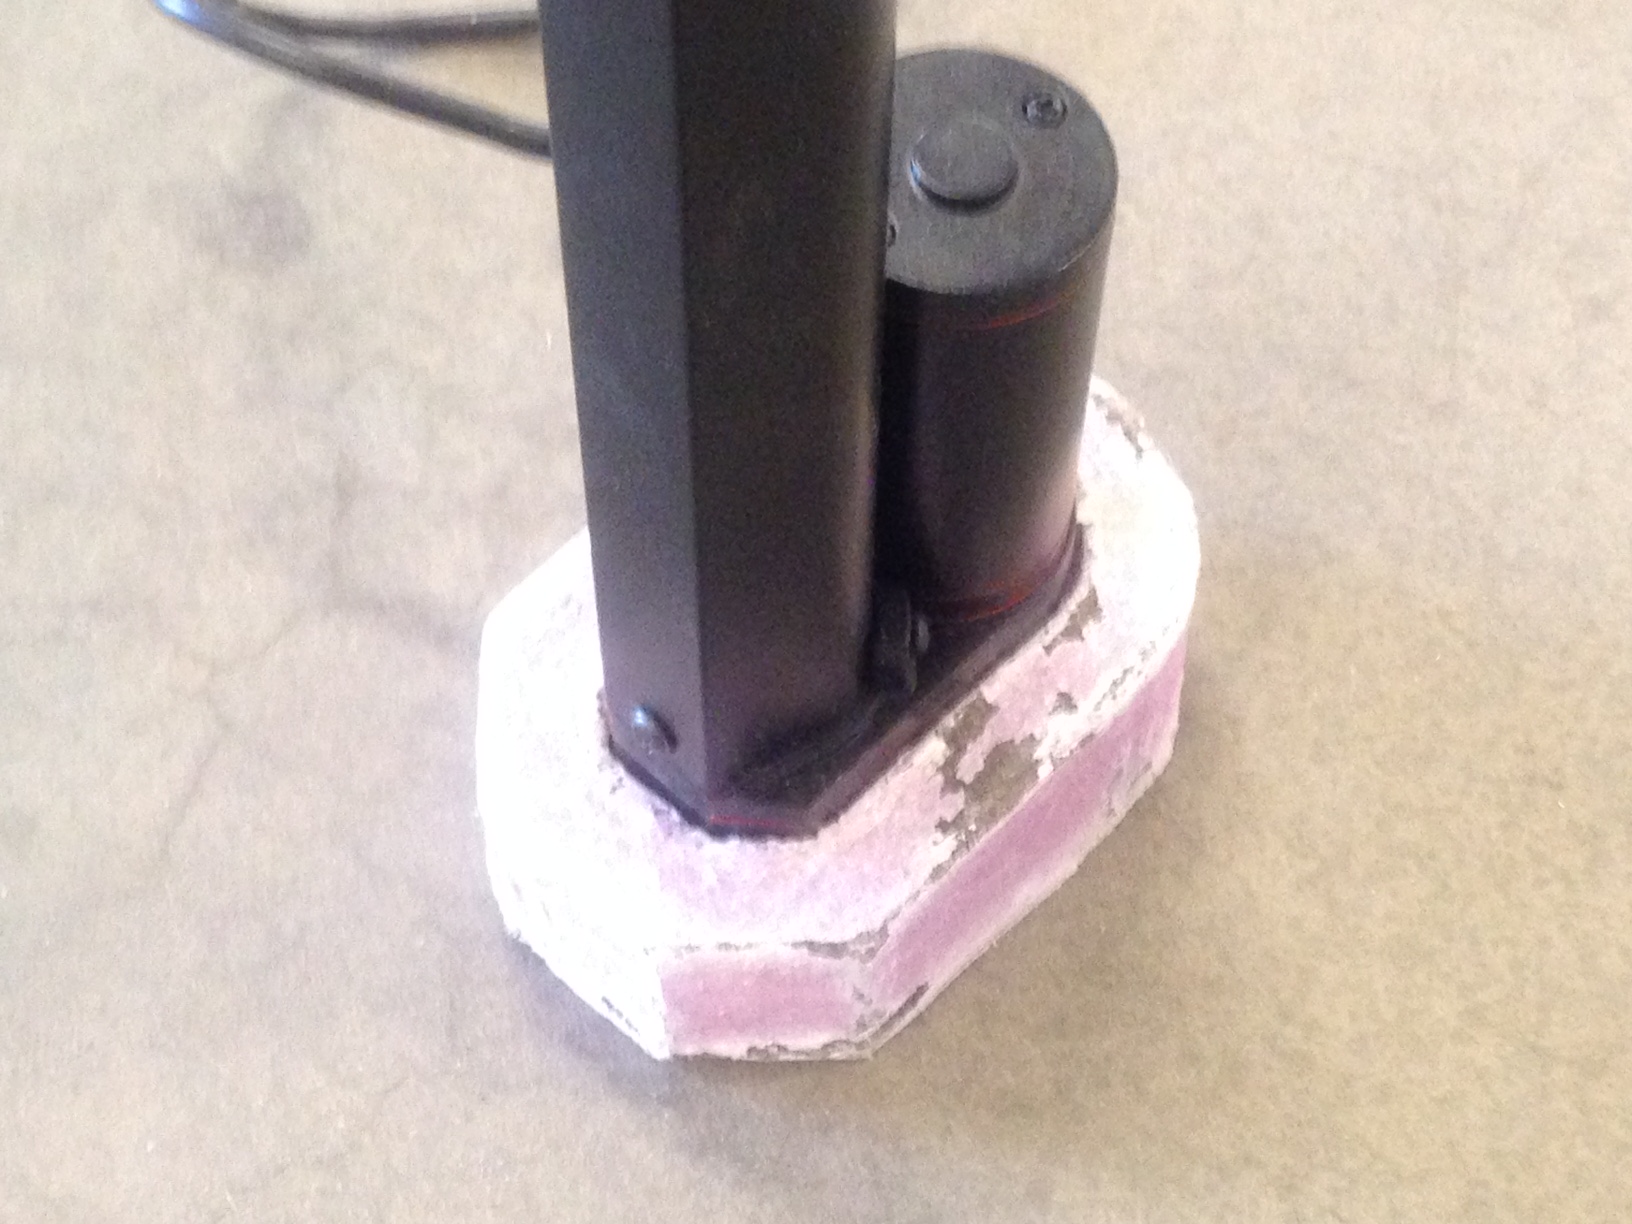
When I finally got the composite removed I was happily supprised with the result. It had come out much better than I ever expected it would. |
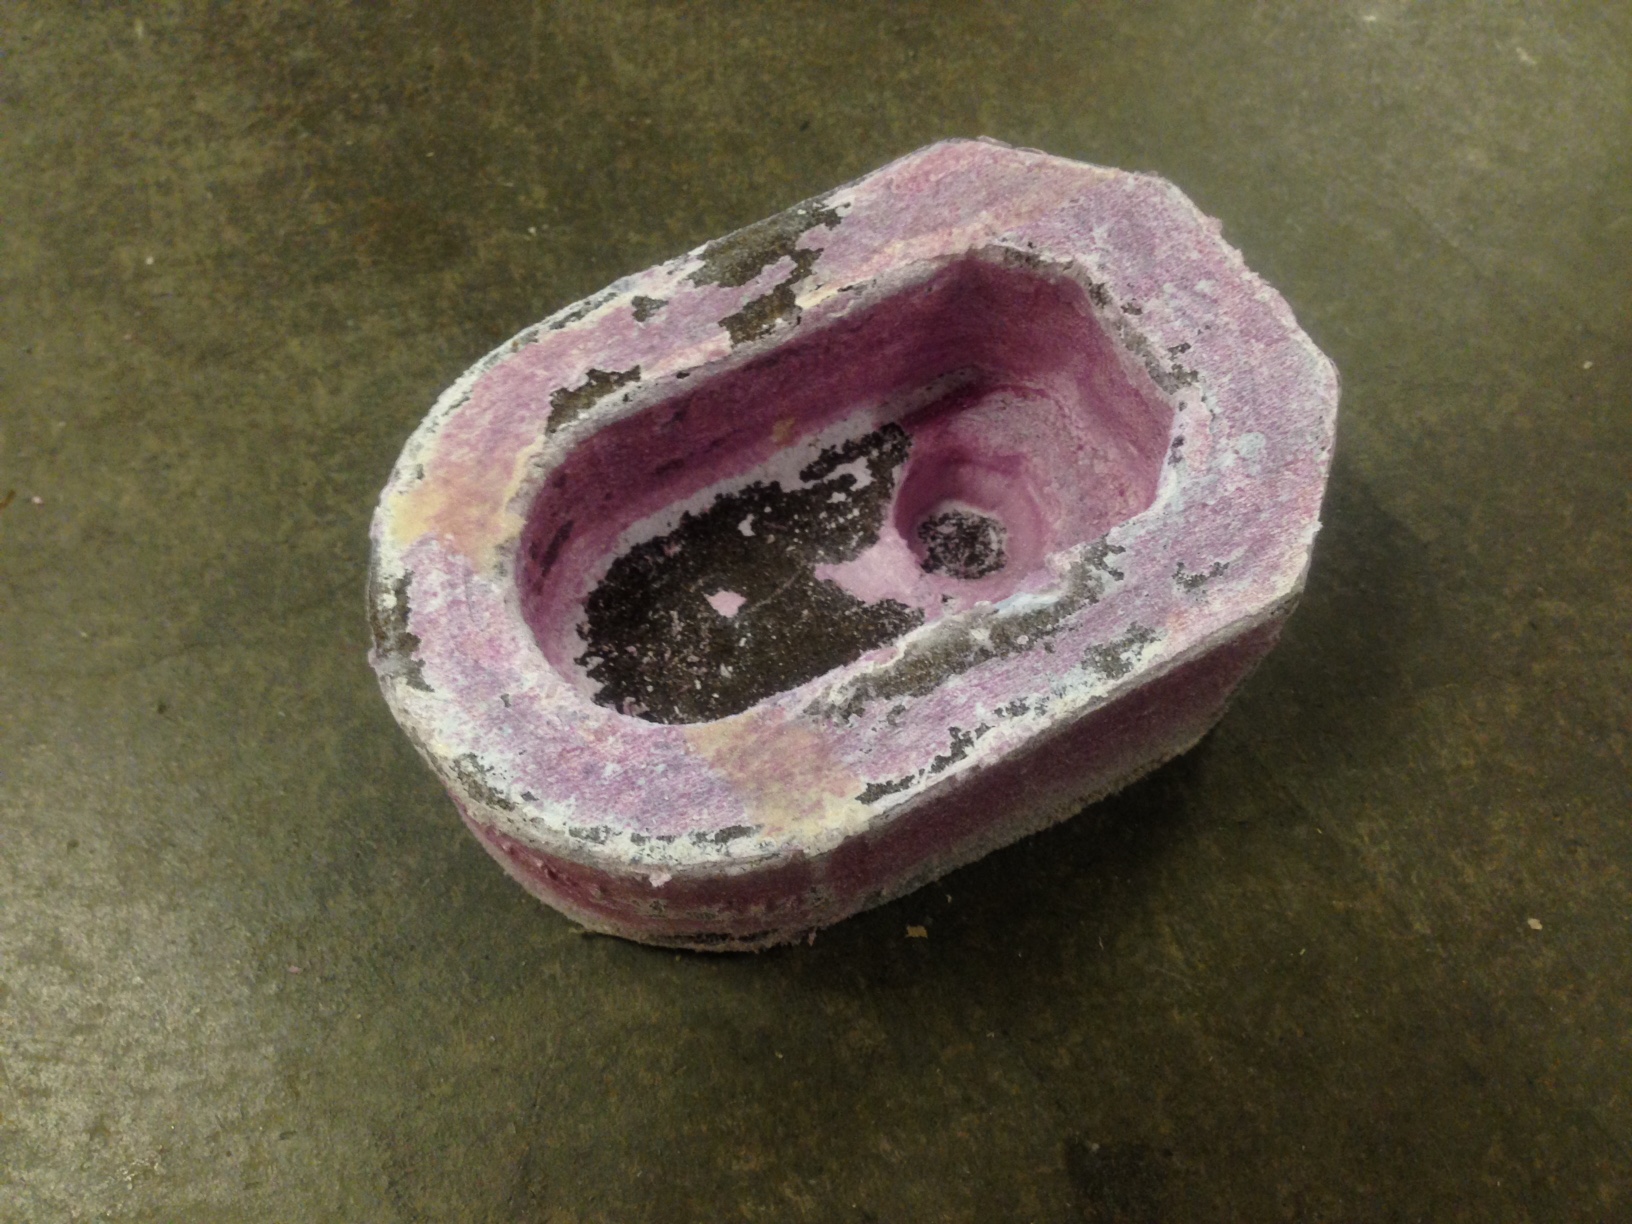
With the help of a file to remove excess foam and expoxy bumps and some a razor blade to cut away the burlap from overlay ontop of the mold the part looked pretty good. |
It even ended up fitting onto the linear actuator I designed it for. All in all I would say that this project was supprisingly successful. I really did not have high expectations for the success/usefullness of composites going into the week, but now, by the end, I have a new respect for the potential ti holds. |